
はじめに
初めてLightsailを触ってみたところ、Webサーバ用のユーザ設定等々でいろいろとハマったりしたので、防備として。
Lightsailのインスタンス生成 (仮想ウェブサーバ)
Lightsail上でWordPress及びDjangoを同時に作動させる手順について、ノートを残しておきます。
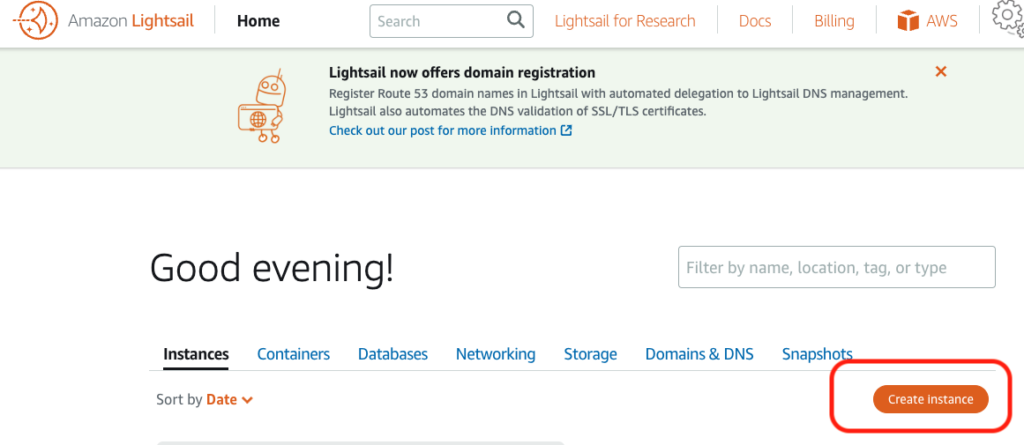
とりあえずLightsailのトップから “Create instance” を選択。
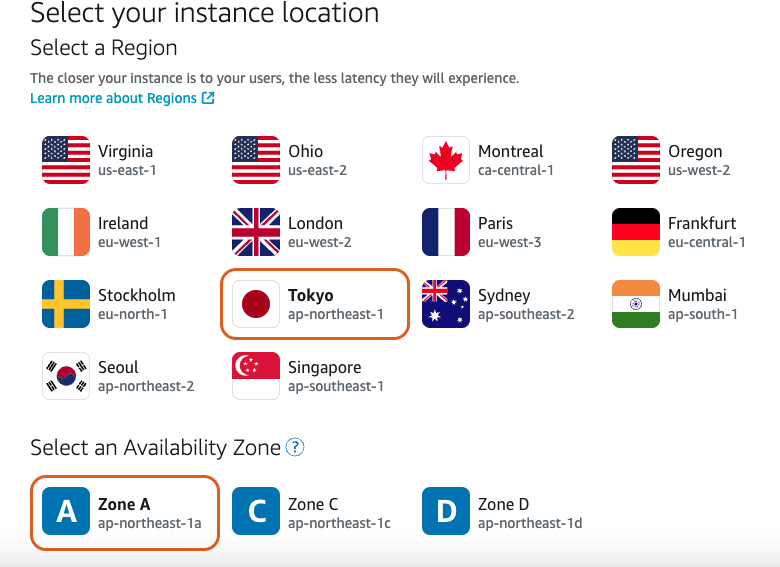
Regionを「日本」に、Availability Zoneは適当に(なんでもOK)に変更。

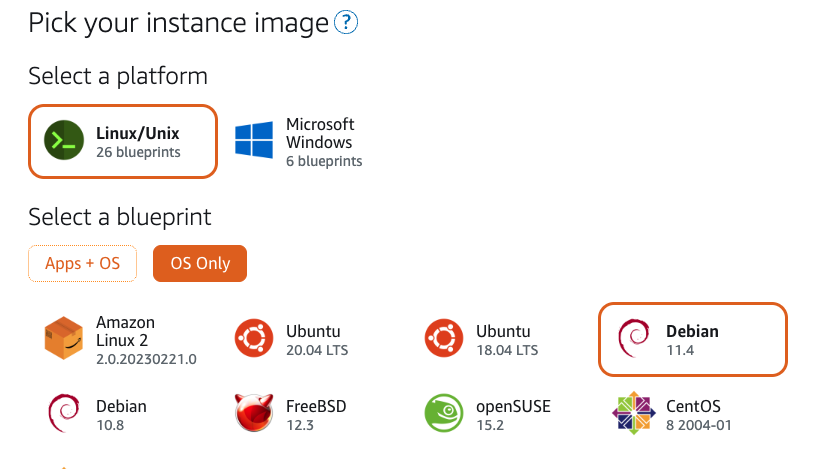
“OS Only” で “Debian” を選択。
とりあえずは一番安いプランで (後でスケールできる)
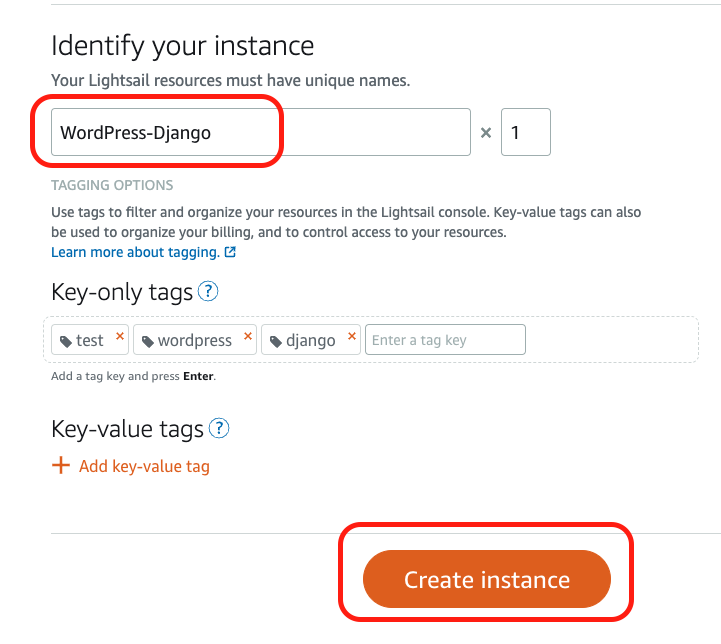
識別用の名前とタグは適当に設定して、”Create Instance” で作成。

Lightsail の Home 画面でインスタンスが生成できてるのを確認。
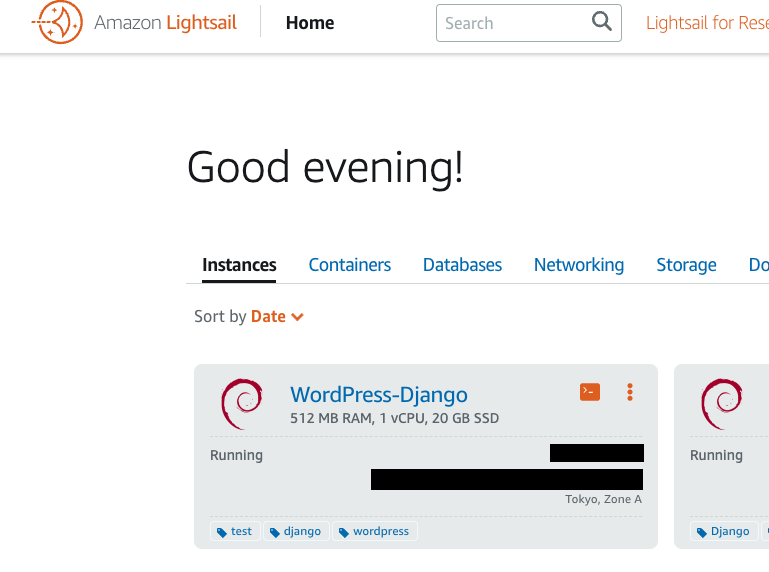
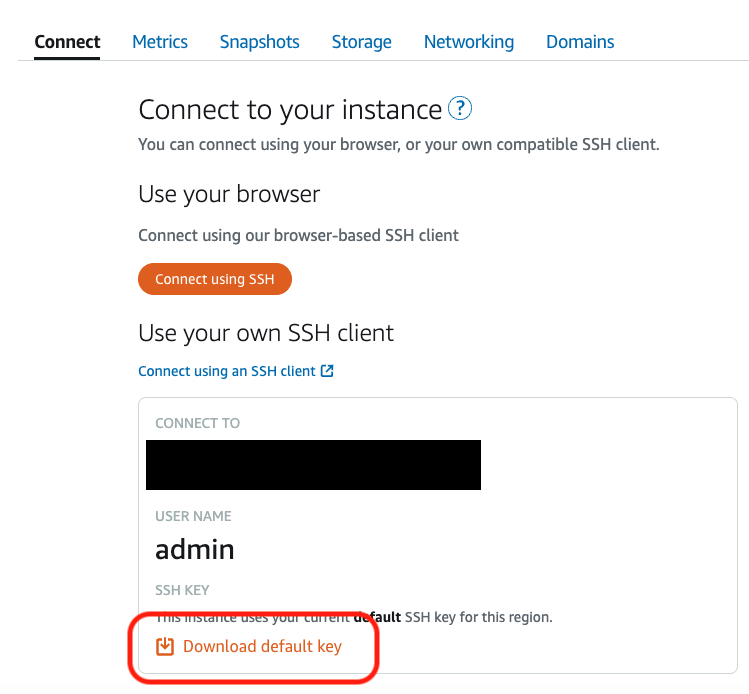
生成したインスタンスの “Connect” のページから、このインスタンスへのアクセスに必要なSSHシークレットキーをダウンロード。
Lightsailインスタンスにsshで接続する。
$ ssh admin@IP_ADDRESS_OF_LIGHTSAIL_INSTANCE -i SSH_KEY_FILE
ssh keyのアクセス権限がちょっとオープンすぎるよ って警告が出るので、権限を変更する。
$ chmod 600 SSH_KEY_FILE再度接続する。
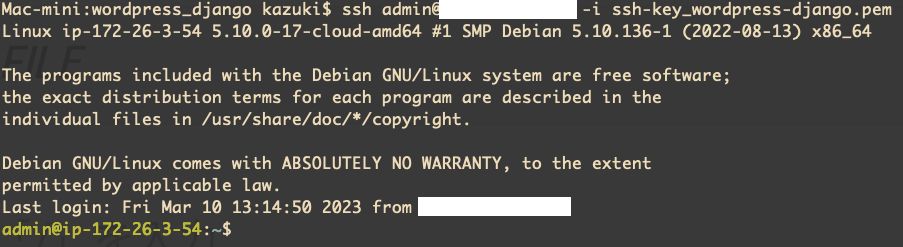
ssh接続完了。
とりあえずカスタムドメインの設定をする。(任意のドメイン名の取得はRoute 53か外部サービスにて)
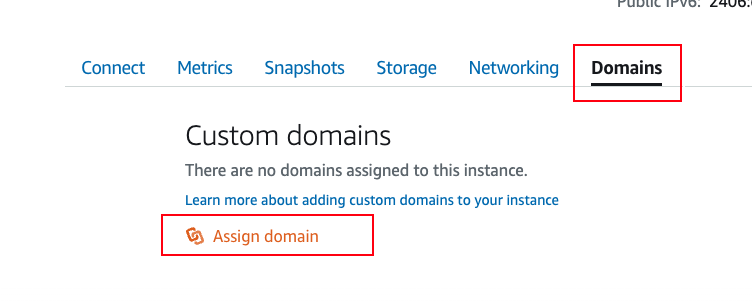
取得したドメイン名を割り当てる。この時Static IP address も設定しておくと良いかもです。設定しない場合はLightsailインスタンスを起動し直すたびに別のIPとなってしまったはずなので。

Nginx(Webサーバアプリケーション)のインストール
とりあえず、Lightsailインスタンスが立ち上がったので、オフィシャルサイト参照してNginxをインストール。
// DebianとUbuntu用のコマンドです。他はオフィシャル参照
$ sudo apt update
$ sudo apt install nginx
“Do you want to continue? [Y/n]” と聞かれるので “Y” でインストール実行。
ここまででNginxのインストールは完了するけど、起動はしていないため、サービスとして走らせる。
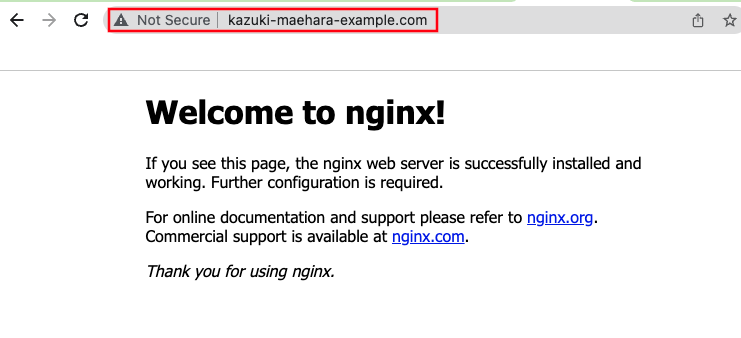
$ sudo systemctl start nginxスマホでもパソコンでも良いので、ブラウザを起動して、割り当てたドメインにアクセスしてみる。 (または割り当てたStatic IP address)
Nginxのウェルカムメッセージが出ていれば起動の確認完了。
WordPress のインストール
WordPress本体のインストールをしていきますが、その前に実行環境を整える必要があります。
具体的には、
- Webサーバ: Nginxインストール済み
- データベースサーバ: mariaDB とか MySQL とかインストールする
- PHP:WordPress の実行環境
です。 この辺り参考にしてください。https://www.digitalocean.com/community/tutorials/install-wordpress-nginx-ubuntu
とりあえずデータベースから行きます。
$ sudo apt install mariadb-server続いて、PHP。
$ sudo apt install php8.2 php8.2-{cli,fpm,mysql,opcache,mbstring,xml,gd,curl}Nginxで受け取ったリクエストに対してPHPを実行できるように設定していきます。本当は別にファイル作って分割した方が良いかもしれないですが、デフォルト設定ファイルに直で書いていきます。後々メンテする時とか煩雑になれば分割で。
$ sudo vim /etc/nginx/sites-enabled/default設定ファイル修正。デフォルトから若干触ってます。
##
# You should look at the following URL's in order to grasp a solid understanding
# of Nginx configuration files in order to fully unleash the power of Nginx.
# https://www.nginx.com/resources/wiki/start/
# https://www.nginx.com/resources/wiki/start/topics/tutorials/config_pitfalls/
# https://wiki.debian.org/Nginx/DirectoryStructure
#
# In most cases, administrators will remove this file from sites-enabled/ and
# leave it as reference inside of sites-available where it will continue to be
# updated by the nginx packaging team.
#
# This file will automatically load configuration files provided by other
# applications, such as Drupal or WordPress. These applications will be made
# available underneath a path with that package name, such as /drupal8.
#
# Please see /usr/share/doc/nginx-doc/examples/ for more detailed examples.
##

# Default server configuration
#
server {
	listen 80 default_server;
	listen [::]:80 default_server;

	# SSL configuration
	#
	# listen 443 ssl default_server;
	# listen [::]:443 ssl default_server;
	#
	# Note: You should disable gzip for SSL traffic.
	# See: https://bugs.debian.org/773332
	#
	# Read up on ssl_ciphers to ensure a secure configuration.
	# See: https://bugs.debian.org/765782
	#
	# Self signed certs generated by the ssl-cert package
	# Don't use them in a production server!
	#
	# include snippets/snakeoil.conf;

	root /var/www/html;

	# Add index.php to the list if you are using PHP
	index index.php index.html index.htm index.nginx-debian.html;

	server_name _;

	location / {
		# First attempt to serve request as file, then
		# as directory, then fall back to displaying a 404.
		try_files $uri $uri/ =404;
	}


	location /blog {
                # First attempt to serve request as file, then
                # as directory, then fall back to displaying a 404.
                try_files $uri $uri/ /blog/index.php?$args;

                # pass PHP scripts to FastCGI server
                #try_files $uri $uri/ /blog/index.php;
                location ~ \.php$ {
                        # include snippets/fastcgi-php.conf;
                        include fastcgi_params;
                        fastcgi_intercept_errors on;

                        # With php-fpm (or other unix sockets):
                        fastcgi_pass unix:/run/php/php8.2-fpm.sock;

                        # With php-cgi (or other tcp sockets):
                        # fastcgi_pass 127.0.0.1:9000;

                        fastcgi_param SCRIPT_FILENAME $document_root/$fastcgi_script_name;
                }

        }


	# pass PHP scripts to FastCGI server
	#
	#location ~ \.php$ {
	#	include snippets/fastcgi-php.conf;
	#
	#	# With php-fpm (or other unix sockets):
	#	fastcgi_pass unix:/run/php/php7.4-fpm.sock;
	#	# With php-cgi (or other tcp sockets):
	#	fastcgi_pass 127.0.0.1:9000;
	#}

	# deny access to .htaccess files, if Apache's document root
	# concurs with nginx's one
	#
	#location ~ /\.ht {
	#	deny all;
	#}
}


# Virtual Host configuration for example.com
#
# You can move that to a different file under sites-available/ and symlink that
# to sites-enabled/ to enable it.
#
#server {
#	listen 80;
#	listen [::]:80;
#
#	server_name example.com;
#
#	root /var/www/example.com;
#	index index.html;
#
#	location / {
#		try_files $uri $uri/ =404;
#	}
#}
Nginx は設定を変更しても動的には反映されないので、変更を読み込ませてあげます。
まずは、設定ファイルの記述エラーがないか確認
$ sudo nginx -t
nginx: the configuration file /etc/nginx/nginx.conf syntax is ok
nginx: configuration file /etc/nginx/nginx.conf test is successful
設定ファイルのリロード。
$ sudo nginx -s reload動くかどうか確認していきます。phpのインフォメーション表示用のファイルを作成。
$ sudo mkdir /var/www/html/blog
$ sudo vim /var/www/html/blog/index.php
上の index.php の中身:
<?php
phpinfo();
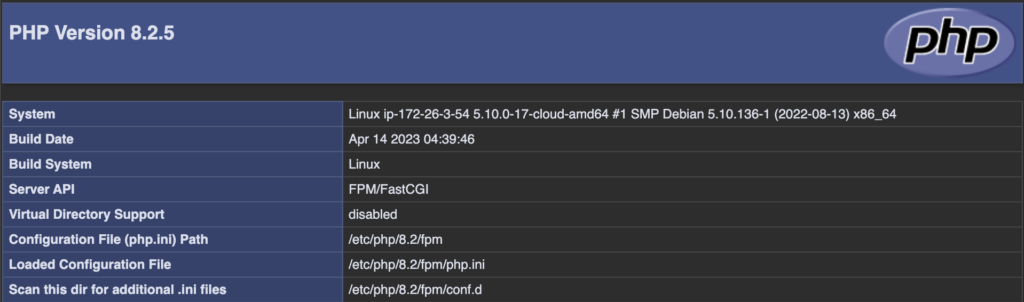
?>動くかどうか確認のため、ブラウザでアクセスしてみる。
http://<上で設定したドメイン>/blog
でアクセスできるはずなので飛んでみて、以下みたいな画面が出てたら確認OK。
確認用のファイルは不要なので削除。
$ sudo rm /var/www/html/blog/index.php続いて mariaDBサーバ にワードプレス用のデータベースを作成する。
※ データベースサーバ自体にパスワード設定しておいてあげたほうがセキュリティ的に良いです。以下では省略してます。
$ sudo mysql -u root

# ワードプレス用の "wordpress_db" を作成
MariaDB [(none)]> CREATE DATABASE wordpress_db;
Query OK, 1 row affected (0.00 sec)

# "wordpress_db" に対する権限をユーザ "wp_user" に付与する。
# この時、同時に "wp_user" が作成される。
MariaDB [(none)]> GRANT ALL ON wordpress_db.* TO 'wp_user'@'localhost' IDENTIFIED BY 'Passw0rd!' WITH GRANT OPTION;
Query OK, 0 rows affected (0.00 sec)

MariaDB [(none)]> FLUSH PRIVILEGES;
Query OK, 0 rows affected (0.00 sec)

MariaDB [(none)]> exit
最新版の WordPress 本体をダウンロードして、展開と不要なファイルの削除。
$ cd /var/www/html/blog
$ sudo wget https://wordpress.org/latest.tar.gz
$ sudo tar -zxvf latest.tar.gz
$ sudo rm latest.tar.gz
$ sudo mv wordpress/* .
$ sudo rm -rf wordpress
とりあえず、ブログ用のディレクトリの所有者を www-data ユーザに変更して、読み書き実行の権限も変更。
# cd /var/www/html/blog
# sudo chown -R www-data:www-data *
# sudo chmod -R 755 *
WordPress の設定ファイルを編集する。
$ cd /var/www/html/blog
$ sudo cp wp-config-sample.php wp-config.php
$ sudo vim wp-config.php
設定ファイルの中身の、この辺り先に設定したデータベースの設定に合わせて編集。
 ...
 ...
 define('DB_NAME', 'wordpress_db');
 define('DB_USER', 'wp_user');
 define('DB_PASSWORD', 'Passw0rd!');
 ...
 ...
http://<上で設定したドメイン>/blog にアクセスすると以下みたいなインストール画面出てくるので、とりあえず「日本語」を選択して次へ進む。
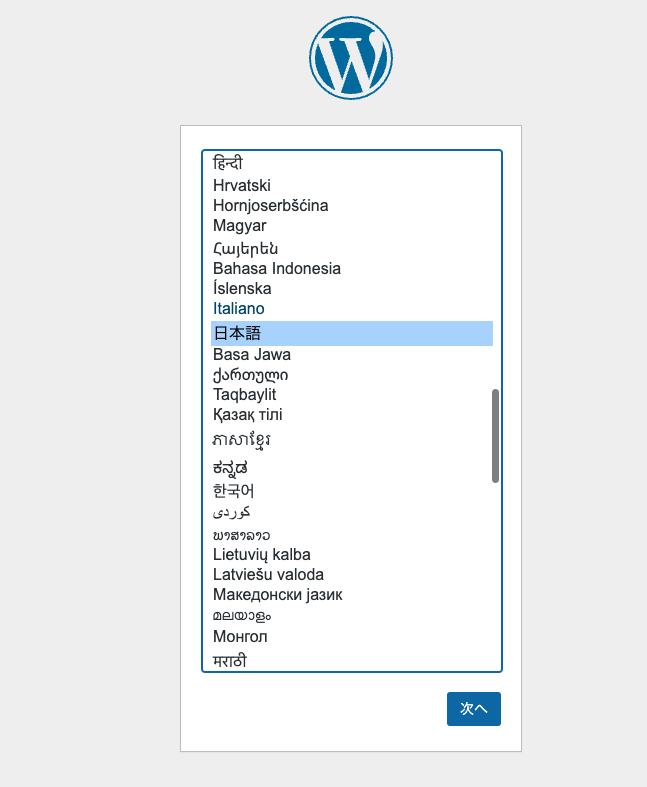
適当に設定してどんどん次へ
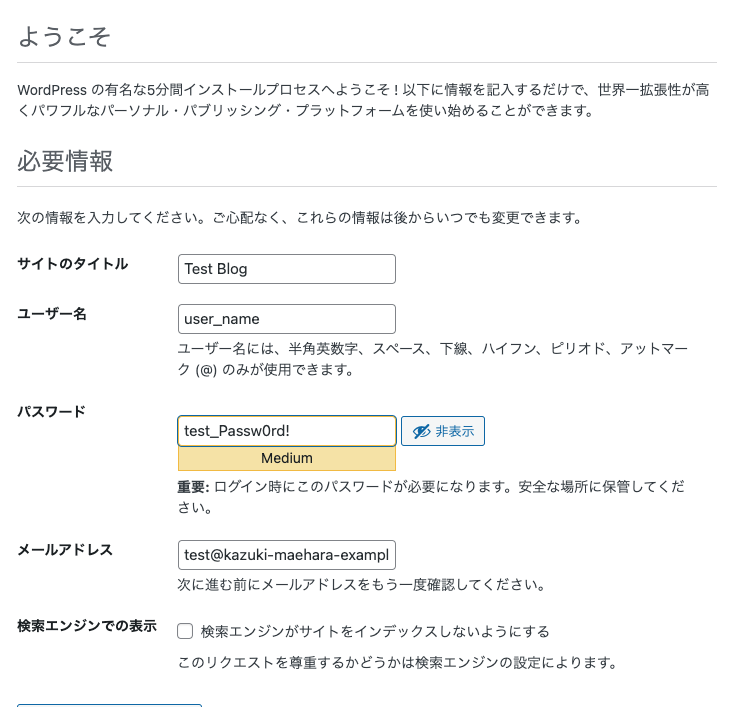
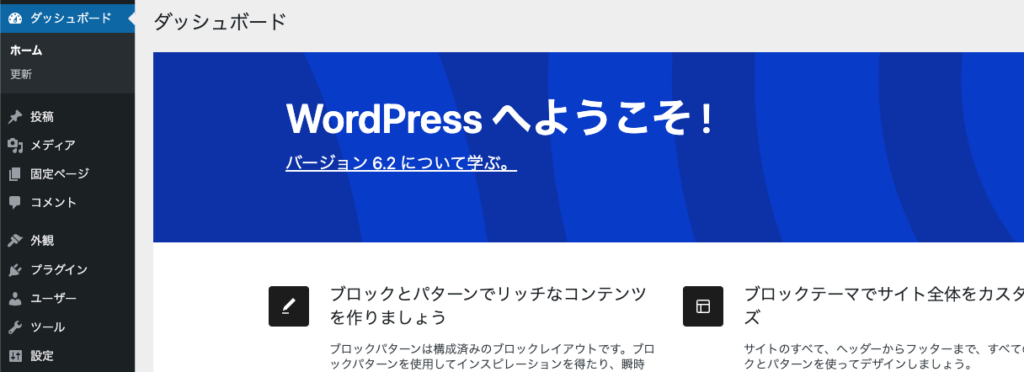
無事にインストールできたらダッシュボードが表示されます。 あとは好きなようにカスタマイズしてブログを書いていけばOK。
HTTPSで接続できるよう設定
ついでに Lightsail 経由で https 通信が利用できるように設定していきます。
Lihgtsail を利用する場合は色々と制約があるみたいなので、今回は一番簡単そうな、Lightsail の distribution へ CloudFront からhttps接続できるよう設定してみる。
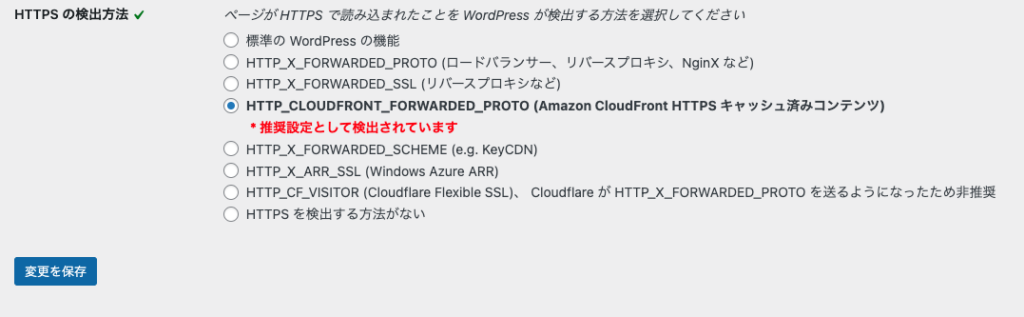
CloudFront 特有の問題を回避するために、プラグイン SSL Insecure Content Fixer をインストールします。インストールしたら有効化して、そのまま設定画面に。
設定画面の一番下 「HTTPSの検出方法」の項目で「HTTP_CLOUDFRONT_FORWARDED_PROTO (Amazon CloudFront HTTPS キャッシュ済みコンテンツ)」を選択する。
※ これやっておかないと、https に切り替えた後で管理画面にアクセスできないとかなんとか、色々とややこしいことになります。
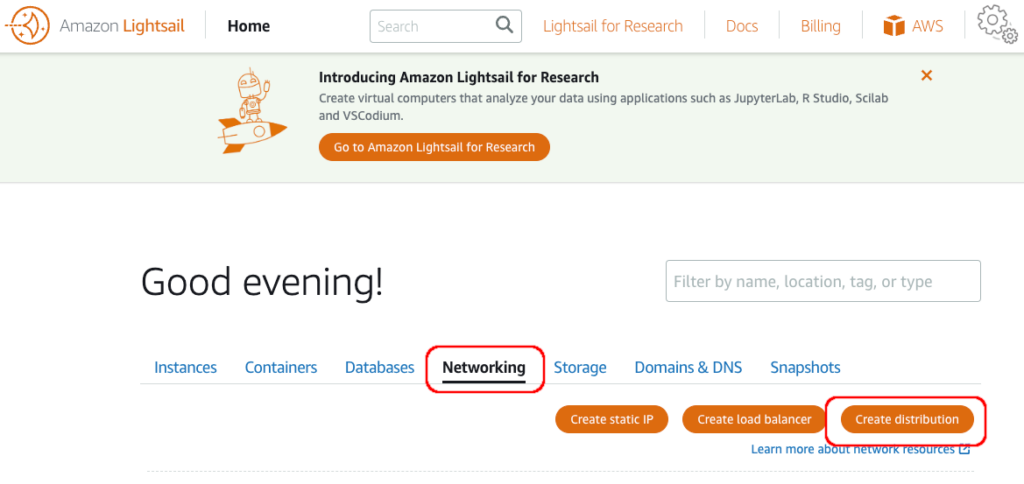
Home の Networking から “Create distribution” を選択。
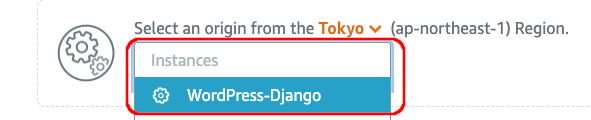
“Choose your origin” の項目で “Tokyo (ap-northeast-1)” を選択。

今回該当するLightsailインスタンスを指定。
その他もろもろをそれっぽく設定する。
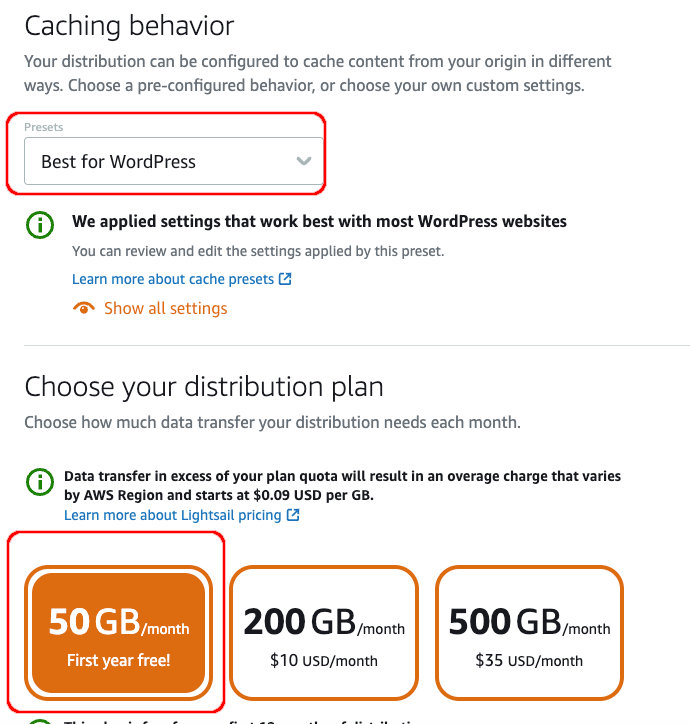
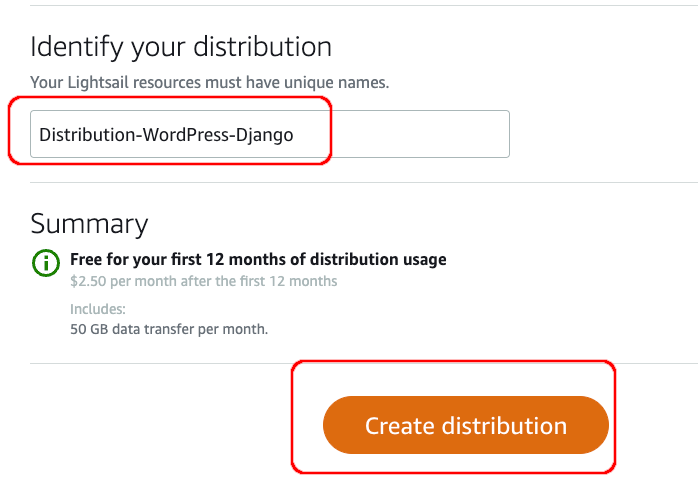
一意な名前を任意でつけてあげてDistributionの生成。
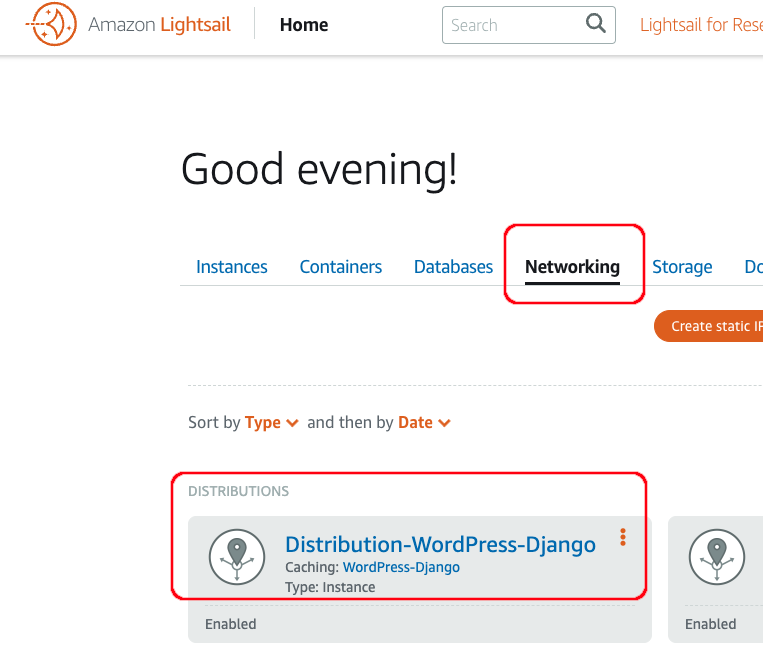
Lightsail の “Home” から “Networking” を選択して、上記で生成したディストリビューションを選択する。
“Custom domain” → “Attach certificate” を選択して、”Select a certificate” で作成ておいたcertificate(TLS/SSLサーバ証明書) をディストリビューションと関連づけてあげる。
TLS/SSLサーバ証明書を作成していない場合は、”Attach certificate” の上にある、”Create certificate” または、Lightsail とは別サービスの AWS Certificate Manager (ACM) を用いて割と簡単にリクエストすることができる。

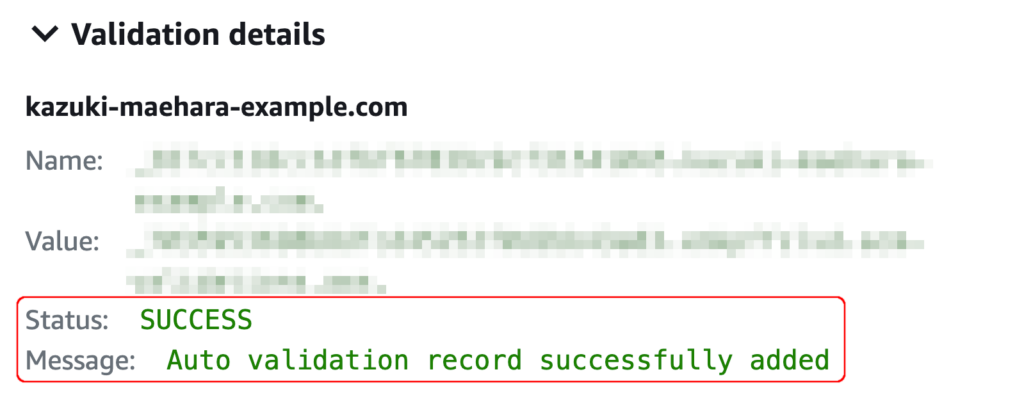
certificate の選択後、直下にステータスが出てくるので、”Success” となってることを確認して “Attach” を確定。
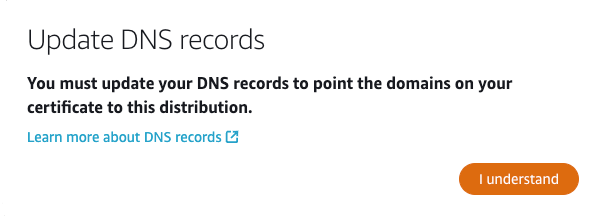
こんな感じのポップアップが出てくるので、DNSレコードを更新する。
つまり、上記のTLS/SSLサーバ証明書をアタッチしたドメインが今回生成したディストリビューションに示すようにしてあげる。
右上の方に “default domain” が出てきているので “foo.cloudflont.net” のとこをコピーして、とりあえずブラウザのURLとしてつっこんでみてhttpsでページが開けるかどうか確認してみる。
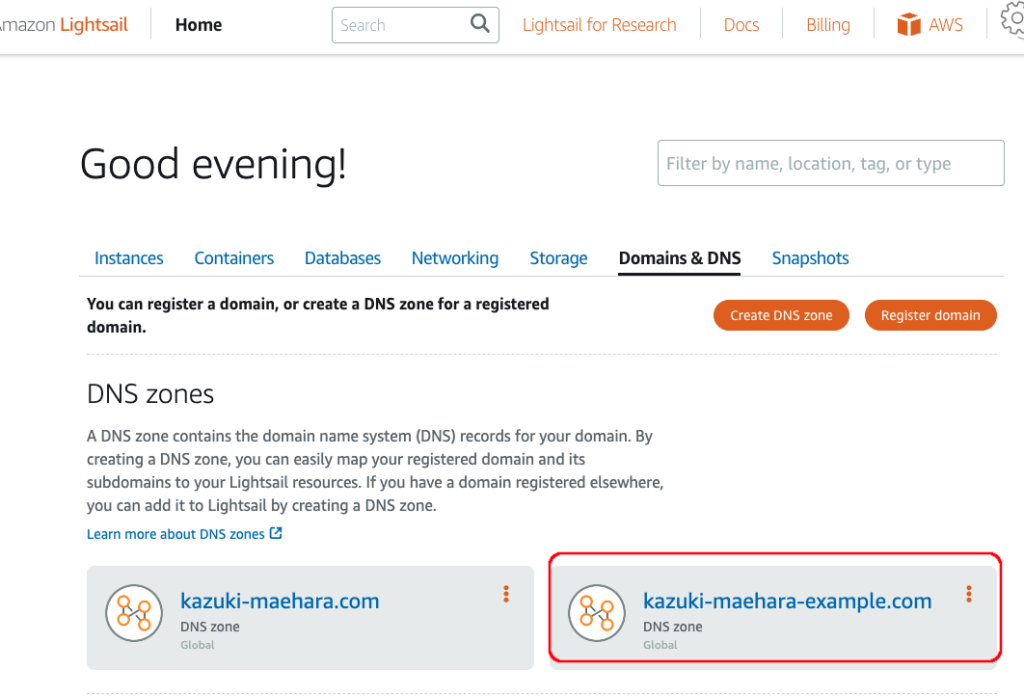
OKだったら Lightsail の “Home” → “Domains & DNS” のページに飛び、今回作成したドメインの “DNS zone” を開く。
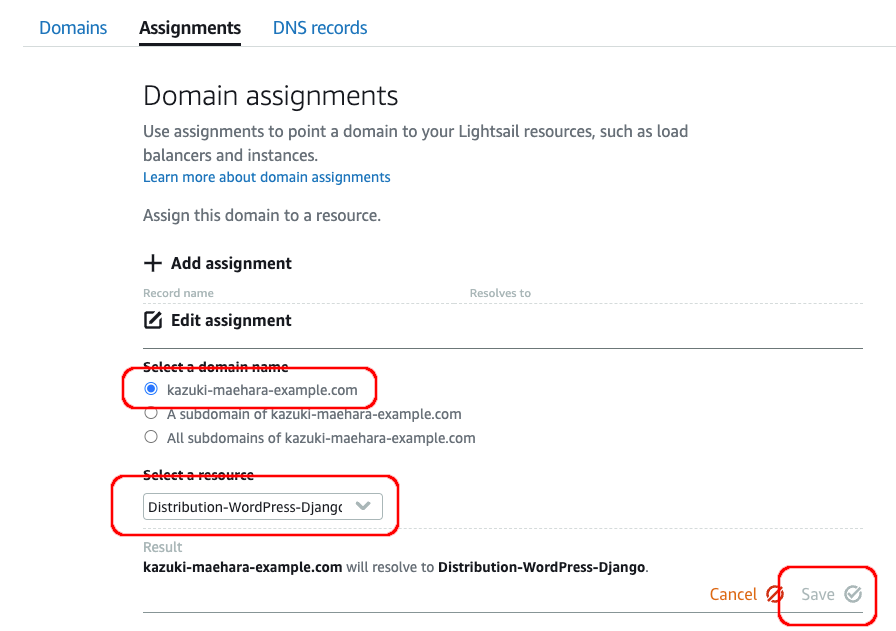
“Assignments” のページに飛んで、一度すでに登録済みの assignment を削除する。これがディストリビューションを最初に作成した時にアサインされたものなので、TLS/SSL認証を利用する設定になってない?感じかと。(詳しいことは未確認です。)
削除したものと同じ内容で、再度ドメインのアサインしてあげる。
“DNS Records” のページに飛んで、”A RECORDS” の項目が “foo.cloudflont.net” となっていることを確認する。
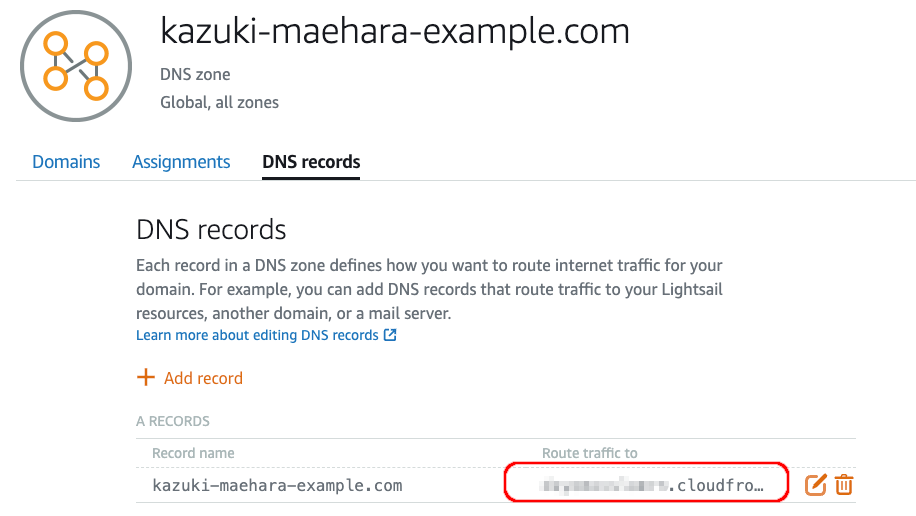
これで URL: kazuki-maehra-example.com を叩くと、CloudFront 経由でhttps通信をしてくれる。ただし、DNSレコードがインターネット上のサーバーに順次伝播されるまでちょっと時間かかると思うので数分から数時間程度放置した後に確認すること。
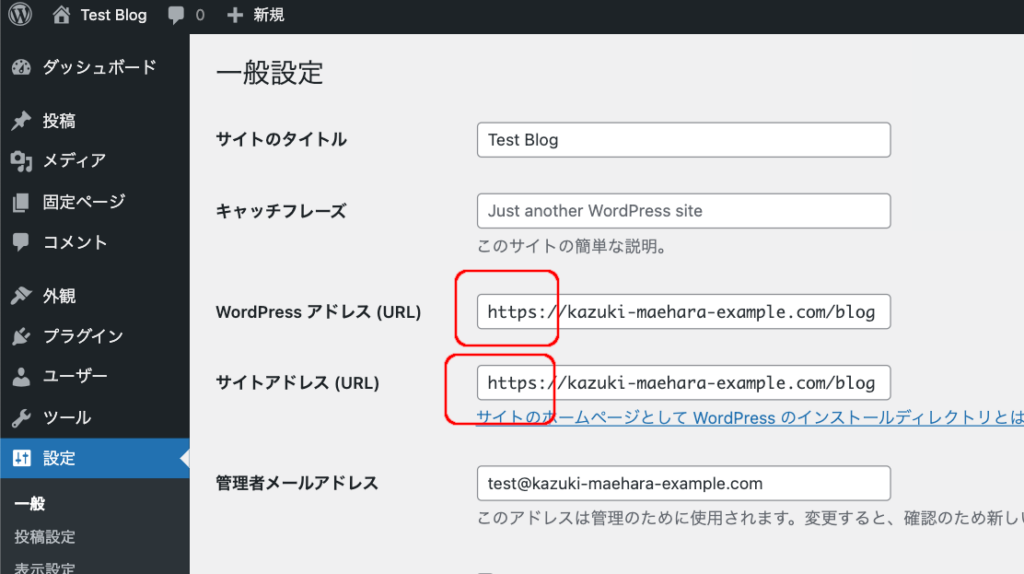
最後に WordPress 側のアドレス設定も http → https に変更しておいてあげる。
※ ここの設定はあまりごちゃごちゃと触りすぎると酷い目にあう(あった)ので気をつけて編集してください。ブラウザ経由でアクセスできなくなったりします。その場合は、ssh でWordPress の設定ファイル書き換えたり、の対応が必要です。
Django(Webアプリケーションフレームワーク)のインストール
pip でインストールとバージョン番号表示確認。
$ sudo pip3 install django
$ python3 -m django --version
4.2.3
Djangoアプリ用のフォルダを作成して、そこで新規プロジェクト作成。
$ sudo mkdir -p /var/www/html/apps/django
$ sudo django-admin startproject config .
とりあえず動くかどうかテストサーバーを起動してみる。
$ python3 manage.py runserver 127.0.0.1:8080なんやら色々表示されたら、別のコンソールでアクセスして、curlあたりでアドレス叩いてみる。
$ python3 manage.py runserver 127.0.0.1:8080The install worked successfully! うんちゃかかんちゃか みたいなデータ拾ってくれば無事に django が動いてる。
...
...
...
<h1>The install worked successfully! Congratulations!</h1>
        <p>You are seeing this page because <a href="https://docs.djangoproject.com/en/4.2/ref/settings/#debug" target="_blank" rel="noopener">DEBUG=True</a> is in your settings file and you have not configured any URLs.</p>
...
...
...
uWSGI(アプリケーションサーバ)のインストールと設定
この辺を参照しながらインストール。https://www.digitalocean.com/community/tutorials/how-to-set-up-uwsgi-and-nginx-to-serve-python-apps-on-ubuntu-14-04
とりあえず python のパッケージマネージャ pip が必要なのでインストールしておく。
$ sudo apt install python3-pipデベロッパ用パッケージのインストール。
$ sudo apt install python3-devuWSGI本体のインストールと、バージョン番号でのインストール確認。
$ sudo pip3 install uwsgi
$ uwsgi --version
2.0.21
Django の wsgi.py ファイルを指定して作動テストしてみる。
$ uwsgi --http :8080 --wsgi-file config/wsgi.pyDjango 単体でテストサーバ立ち上げた時と同じレスポンス返してればOK。
...
...
...
<h1>The install worked successfully! Congratulations!</h1>
        <p>You are seeing this page because <a href="https://docs.djangoproject.com/en/4.2/ref/settings/#debug" target="_blank" rel="noopener">DEBUG=True</a> is in your settings file and you have not configured any URLs.</p>
...
...
...
uwsgi の設定用 iniファイルを作成する。
$ vim /etc/uwsgi/django_uwsgi.ini# django_uwsgi.ini file
[uwsgi]
# User & Group ID
uid = www-data
gid = www-data
# Django-related settings
# the base directory (full path)
chdir = /var/www/html/django
# Django's wsgi file
module = config.wsgi
# ===== process-related settings =====
# master
master = true
# maximum number of worker processes
processes = 3
# the socket (use the full path to be safe)
socket = /run/uwsgi/django.sock
# ... with appropriate permissions - may be needed
chmod-socket = 666
# Logging
#logto = /var/log/uwsgi/%n.log
# clear environment on exit
vacuum = trueiniファイルの中で設定してあるソケット用のディレクトリを作成しておく。(ソケットではなくhttpを使用して、Webサーバと連携させるのも可。)
$ sudo mkdir -p /run/uwsgi/上記で作成したディレクトリの所有者を適切に変更しておく。
$ sudo chown www-data /run/uwsgi/iniファイルを指定して uwsgi を起動する。
$ sudo uwsgi --ini django_uwsgi.iniこの時、ディレクトリの所有者変更とか適切なパーミッション設定しとかないと以下みたいなエラーが発生するので注意。
...
...
...
bind(): Permission denied [core/socket.c line 230]
とりあえずうまいこと起動したらこんな感じの標準出力で。
...
...
...
*** uWSGI is running in multiple interpreter mode ***
spawned uWSGI master process (pid: 11466)
spawned uWSGI worker 1 (pid: 11467, cores: 1)
spawned uWSGI worker 2 (pid: 11468, cores: 1)
spawned uWSGI worker 3 (pid: 11469, cores: 1)
Nginx の uWSGI 用設定
...
...
...
        location / {
                # First attempt to serve request as file, then
                # as directory, then fall back to displaying a 404.
                try_files $uri $uri/ =404;
        }

        #  Django static
        location ~ ^/django/static/(.+?)$ {
                #autoindex on;
                alias /var/www/html/apps/django/static/;
                try_files $1 =404;
        }

        # fFinally, send all non-media requests to the Django server.
        location  ~ ^/django/(.*)$ {
                # For a web port socket
                # uwsgi_pass 127.0.0.1:8000;

                # For a file socket
                uwsgi_pass unix:///run/uwsgi/django.sock;

                include uwsgi_params;

                uwsgi_param SCRIPT_NAME /apps/django;
                uwsgi_param PATH_INFO /$1;
        }

        location /blog {
...
...
...
Nginx の設定ファイルのリロードをしておく。
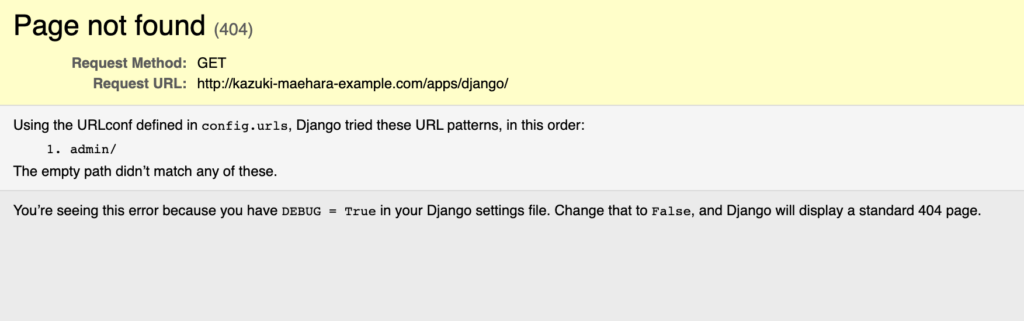
$ sudo nginx -s reloadブラウザで https://<上で設定したドメイン>/django にアクセスするとDjangoのデバッグページが表示されてればOK。セキュリティ的によろしくないので、サーバー落とすか Django の設定ファイル内でデバッグモードのフラグを False にしとくこと。今回は Django については深掘りしないです。機会があれば別の記事で!
とまぁ、だいたいこんな感じで WordPress と Django を一つのサーバで共存させれたので、あとは自分のブログ作ってみたりWebアプリケーション走らせてみたり、でいろんな情報公開してけば良いかなと。
それでは、長々と読んでもらってありがとうございました。

コメント